The assignment was to design a kitchen tool. I decided to make a spatula. Exciting I know. Here are some sketches.
I had a hard time choosing one I wanted to make. Mostly because spatulas are boring. But, do you know what's not boring? Thats right, sex toys. Why not make a spatula that is also a sex toy?
...extra fun in the kitchen. The most difficult part was machining the handle/toy. It is made of solid aluminum and hand turned on the lathe.
The blade was cut on the plasma cam and then I polished everything to nice finish.
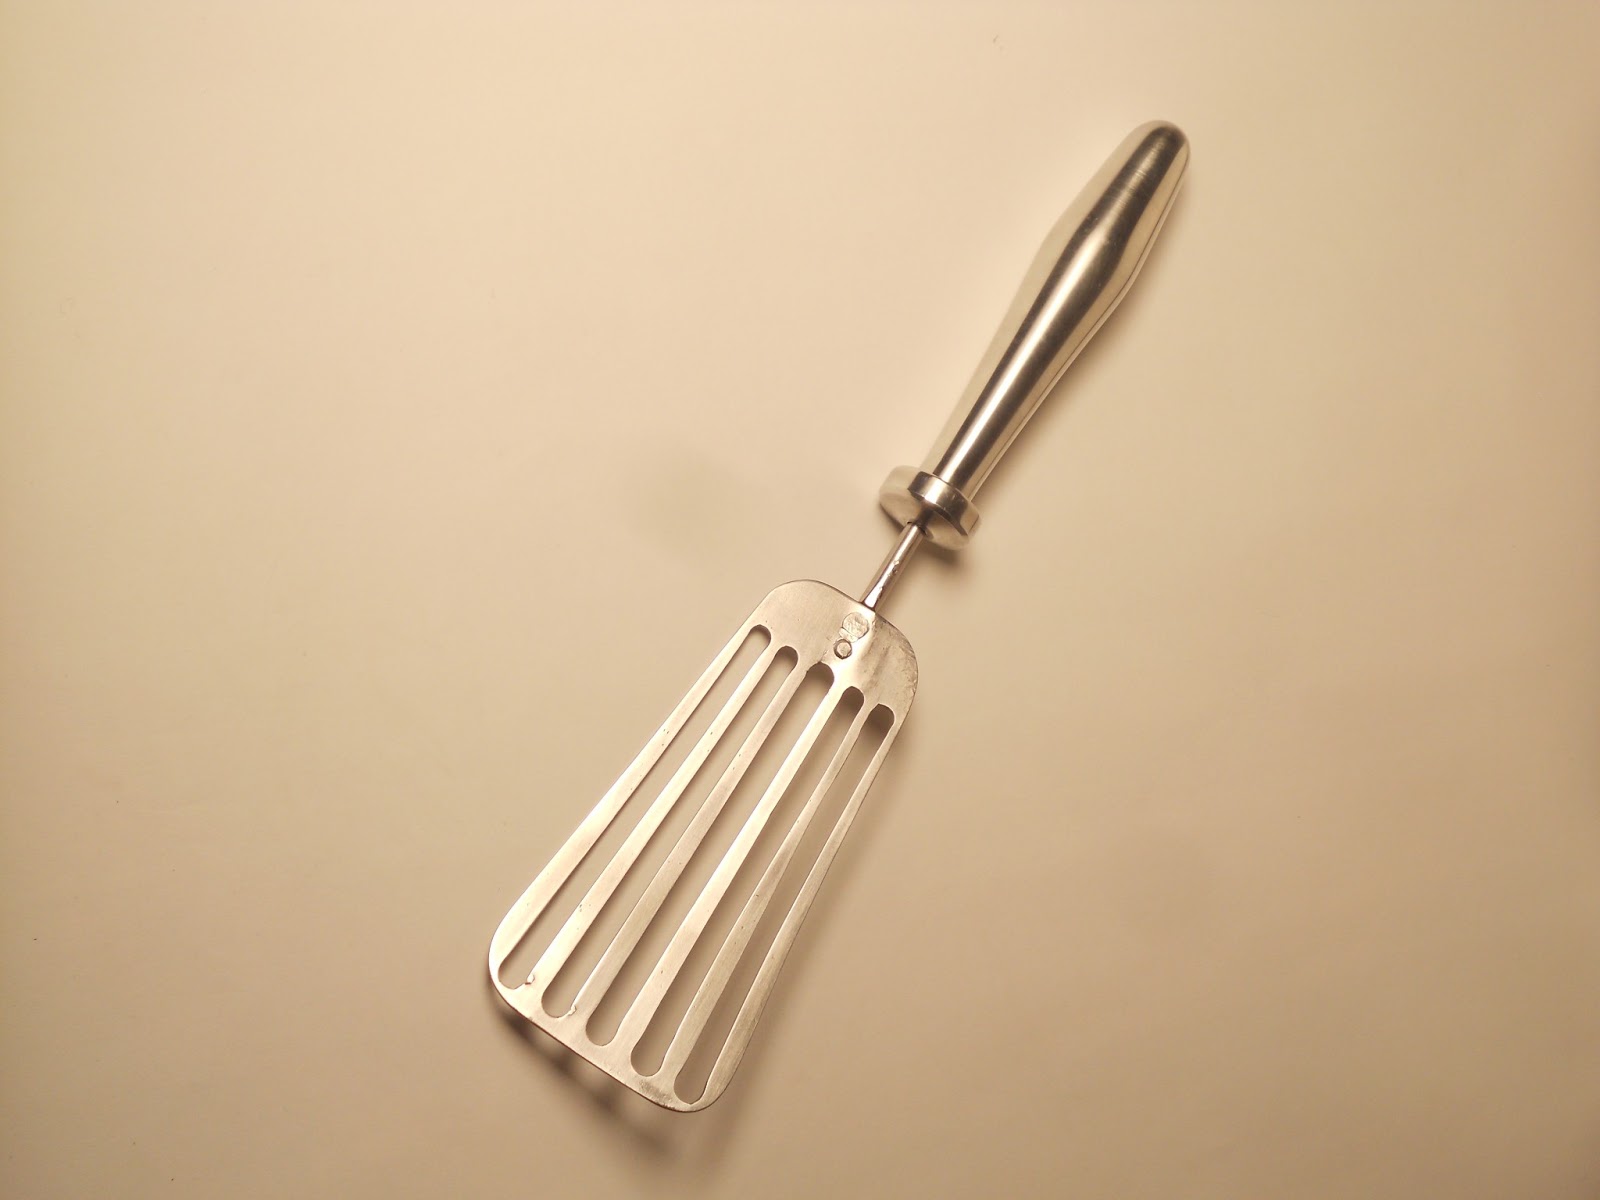
I haven't tried it out yet but I'm sure it does just fine flipping burgers.
My name is Josh Shaffer and I'm blogging about being an Industrial Design a Mechanical Engineering student in Denver, Colorado. Posting about what I am doing as a design student an engineering student, what inspires me and the design I like.
Showing posts with label process. Show all posts
Thursday, February 14, 2013
Sunday, December 5, 2010
The Problem: episode 1, part 15 (Figuring Out The Desk Top- AKA: Model Making)
Before I get started on the joys of the models I wanted to show how the White Oak looks after I had put some oil on it. On the right is the fumed oak and the left is what the whole thing is going to look like after one coat of linseed oil. It turned out a lot darker than I expected. At first I was worried that I wouldn't like it but it has started to grow on me. The color is unexpectedly rich which is nice. Give me a few more weeks and I'm sure I'll think it's the best thing since sliced bread.
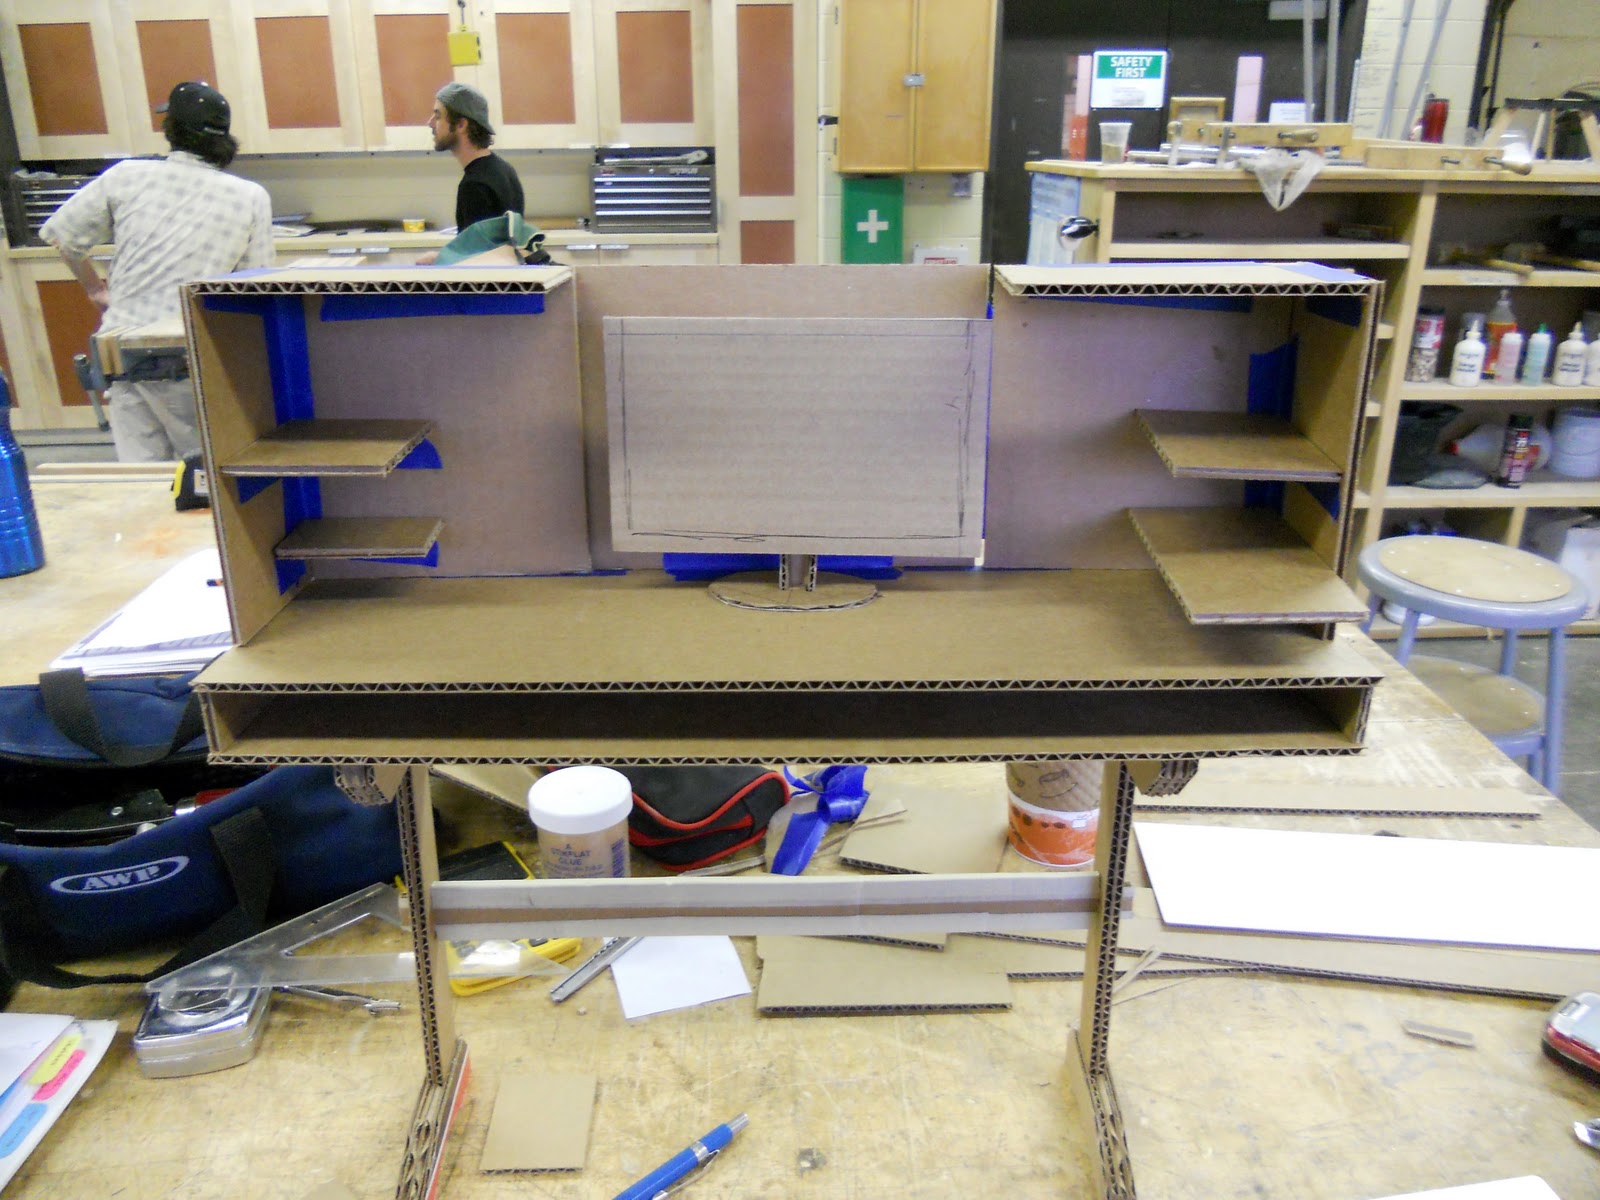
As for this model I am going to try and see what a square top (first was all curvy and stuff) with an cabinet type thing on top of that opens but still fits all of my technology inside when it closes. I'm asking miracles with this one I know. Just laying this thing out has taken me forever. My first try started out nice but after I figured out it would take up an entire wall (the big one) in our living room I gave it another shot. And about halve a dozen shots later this is what I have came up with. It all started with that awesome desk I saw at the vintage furniture store.
Started with the desk top. Making it big enough to fit a couple of drawers and cable storage and some other nooks and crannies for putting odds and ends.
Here is the top piece. Making it open to no bigger than the desk top was still the hard part.
The goal is to fit everything inside. . . of this closed box.
But make use of the entire desk top when it's open.
My solution is to have the monitor on an extendable arm and my laptop on a tray that can slide back and forth under the monitor.
Then I added some shelves for the printer and other things.
Monday, November 29, 2010
The Problem: episode 1, part 14 (The Fumed Finished)
After stuffing myself silly over the Thanksgiving holiday I managed to get back to work.
Working on the final touches with putting the leg and rail together. Here is the wedge that holds everything together.
It turned out more sturdy than I had hoped. The thing is as sturdy as a rock. If I wasn't using it as a computer desk I could easily use it as a workbench.
I went old school with the finish on this one. Fuming the white oak with ammonia. This technique gives the oak a nice deep burnt umber color.
To do this I had to build an air tight box to fit all of the pieces of my leg and rail in. I made this one out of cheap 1"x 2"s and 2mil plastic.
All of the pieces are held apart by screwing them into some scrap wood. Then I poured the ammonia into a bowl.
And then covered the top and taped down all of the edges in order to make it as air tight as possible.
Then I waited about 24 hours.
It's hard to tell how much the color of the wood changed in this lighting. It's my porch light because I took all of these pics at night. Since it's winter time here in Colorado that means I took the pics after 5:00PM.
Before the fuming the aluminum rod was not that noticeable. So you can see the wood has darkened quite a bit. The color will pop as soon as I put some oil on it. I can't wait but if I bring it in the apartment right now I will have the whole place smelling of ammonia and that's not good. I have to keep the wife and dog happy so I will wait until tomorrow.
Sunday, November 21, 2010
The Problem: episode 1, part 13 (The Big Glue Up)
Really busy week this week. I got a lot done, just not a lot done with this leg and rail assembly. What I did do was a major step in getting the thing done. I have got it ready for the finish.

Had to cut a pile of shims for the tenons and lay out where they go.
These are the blind (go into a hole that has a bottom) tenons that I am putting the shims in. As the shims bottom out in the mortise they are forced back up into the tenon making everything nice and tight.
First is the glue.
Lining it up.
And applying the force.
More force.
And a little more force. I would like to take a second to thank Mr Greg Burns for taking these action shots of me. Good Job, thank you.
The upper tenons are through tenons so I could put the shims in after I fit the two pieces together.
And here they are almost ready to be finished.
Sunday, November 14, 2010
The Problem: episode 1, part 12 (The Last Mortise And Securing The Tenons)
I enjoy doing things by hand sometimes. Working with good old hand tools keeps my hands honest.
To strengthen the rail tenon I drilled a 1/4" hole just past the mortise I just made.
Then I cut some 1/4" round aluminium just a little larger than the height of the tenon.
And pounded it through the tenon with a hammer.
All I have to do now is file the aluminium flush and do some finish sanding to get things ready for the finish.
Saturday, November 13, 2010
The Problem: episode 1, part 11 (The Shaping of things)
Setting up an auxiliary fence in order to do a 160 degree cut with the miter saw. I just added a longer edge to the box I made for making the tenons earlier. Worked great.
This is the piece I am about to cut.
Lined up the laser with my line and I am ready to do some cutting. Lasers are great for lining up angles like this. Cuts the set up time in half.
Here is me making the cut. Exciting I know. When I'm rich I plan on hiring a professional photographer to shoot me while I'm working. Until then I'm saving for a tripod to set up some more interesting camera angles.
Subscribe to:
Posts (Atom)